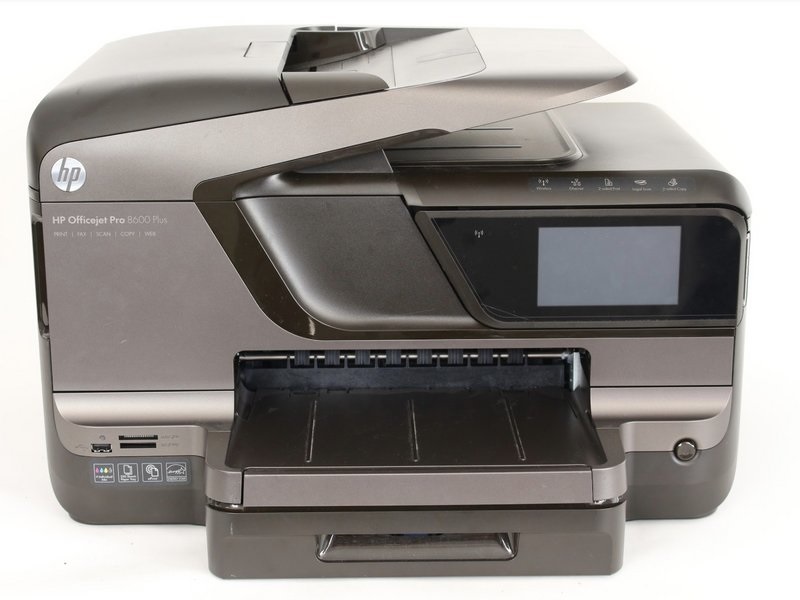
HP Officejet Pro 8600 printers are very popular for homes and small offices. If you are having problems with the HP Officejet Pro 8600 drivers there are many simple ways you can troubleshoot and hopefully solve your issue.
The first thing you should always check is if your PC is recognizing the printer. In order to do that you need to open your devices and scanners then go to the windows key and type “Printers & Scanners” in the search box, and select the first result. Next, when you select the “Printers & Scanners” settings application it will show you all the available printers on your PC. Although, if this printer is not on the list it is possible that you may need to reinstall it. This can happen for a lot of different reasons. Usually, printers are mostly steady, but security exploits target printers a lot of the time. So, if you didn’t source your HP Officejet Pro 8600 drivers or install it from an official site, it could be packed with malware it adware. This would cause your windows operating system to automatically block the software and remove the printer off the list of available devices.
In order to reinstall the printer using driver software, you need to download the latest driver and software off of the official HP website. On the support page, it will provide you with a feature-rich software suite and a basic driver for the HP Officejet Pro 8600 Plus Premium All in One Printer series. The HP support site will detect your operating system automatically for you, and give you the correct software to use. You can always change the selection by clicking on the “Change” link. Once you download the software, locate it in your download folder, then start the installer application. When prompted, select “Run” to begin the installation. Accept the licensing agreement, and the software will now start to install. After the software is installed, you will be prompted to select your connection type. When you do that HP will detect and connect the printer to your computer automatically. As soon as you’ve finished all these steps your printer should be available to use on the list.
If your printer is showing up on the list, but it still isn’t printing, then you may need to update the driver from the device manager. In order to do this, you need to open “Device Manager” by typing it into the Windows Key. Then, select your printer from the “Print Queues” list. Next, right-click on your printer and select “Update driver”. It’s going to ask you how you want to search for drivers; select “search automatically for updated driver software.” Windows is now going to search and install the latest driver for you. Although, keep in mind that windows drivers are not always the latest. Using the drivers that are given to you by the original manufacturers is always the most correct and safest way to make sure that your devices are operating the way they are intended too.
The way to dispose of the dispute of manually managing your PCs drivers, Driver Support is able to catalog and update all your device drivers as they are required. With it being patented device optimization technology, it’s also going to make sure all your components are working at the best possible performance levels. So, be sure to download driver support to be sure that you aren’t ruining your PC and prevent device failures.