Installing a chain link fence around your property premises provides safety, security, and peace of mind. You can install a chain link fence in a day or two based on the area, provided you are using the right tools and the professional help of a trained fence contractor. Chain link fence installation is not only hassle-free but also budget-friendly.
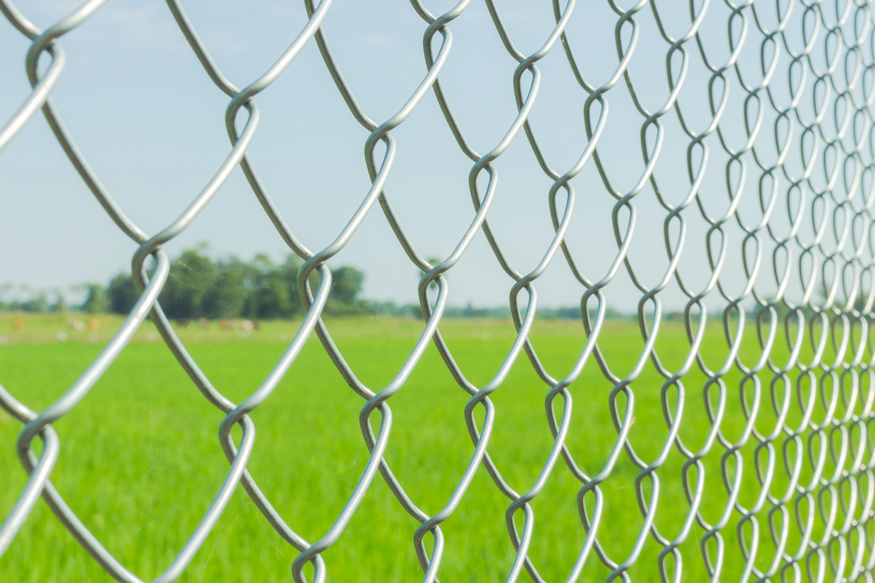
A chain link fence is a fence made of steel or galvanized wire and has a zigzag, fabricated pattern of wires. It comprises a metal chain link fabric attached to multiple metal fence posts via special post hardware.
The main purpose of these types of fences is to enclose and secure places, including barns, backyards, government facilities, penitentiaries, and construction sites. Chain link fences are known for their durability, economic advantages, and affordability. Therefore, these are most suitable for both residential and commercial properties/areas.
Steps to follow for installing a chain link fence
Prepare the Site
A chain link fence installation requires a good deal of pre-planning and preparation for accuracy and perfection. First and foremost, determine the right fence size and your preferred material.
Besides, the height of the fence would depend on the size of the chain link fabric or mesh, which is available in linear feet. For example, a chain link mesh or fabric comes in 4-feet, 5-feet, or 6-feet high rolls.
Try choosing galvanized steel as it is the strongest and sturdiest mesh. However, aluminum is a better choice if you want a lighter mesh. Make sure to buy enough of them to cover the fence perimeter properly. You can deduct the area of any gate openings during purchase by taking appropriate measurements.
Furthermore, inform your neighbors regarding your chain link fencing plans to avoid future disputes. Moreover, be aware of all the local building codes or the guidelines of the housing association. Codes may indicate specific hole requirements for the fence post.
Always abide by local laws and legal property rules and restrictions before planning your fence installation. And find your exact property line, too. To avoid overlapping any part of your fence with the premises of your neighbor.
Dig the Post Holes
Chain link fence posts usually come in two main diameters. The smaller diameter, usually 1 5/8 inches, is suitable for line posts and other fence posts. And the larger diameter, that is, 2 3/8 inches, is designed for the end and corner posts. Whatever your post height, digging up your post holes accurately is vital. Try using either a two-person auger or a post-hole digger.
Dig post holes 3x wider than the original post diameter. For example, for end and corner posts, dig 6-8-inch holes, and for line posts, dig 4-6-inch holes. Make sure the post holes are one-third the length of the pole, and add 4 more inches to it for the ground. Fill in all your post holes with 4 inches of gravel, and tamp them with a 4-foot x 4-foot post or a hand tamper. For your corner, end, and gate posts, add around 6 inches of concrete to the post holes, while leaving the others empty.
Install the Posts
Now, it’s time to set your posts. Begin with installing the corner, end, and gate posts in concrete to add strength and hardiness to the entire chain link fencing system. These posts should be properly and firmly set, as these will create the foundation for the fence system. Ensure the concrete mix is of proper thickness and avoid making it too thin. Wait until the concrete is completely dry and cured (usually takes 2–3 days) before moving on to other posts.
Install the Rails
After installing the posts, attach the rails and install line post caps. Insert the looped line caps into the line posts using a mallet. Drive the posts in their holes, but leave the holes unfilled. Attach rail caps to brace bands using bolts. You can cut the rails with a hacksaw or pipe cutter if required. Then, fit the rails into the rail caps and keep a 2-inch clearance at the bottom. Secure the rail height by tightening the brace bands.
Install the Chain Link Fabric
It’s time to install the chain link mesh or fabric. First, lay and unroll the mesh on the ground outside the fencing area. Now, weave the mesh around the tension bar. The links should be placed at the end of the fabric. The tension bar helps to make the fence sturdy and gives space for something to attach to the fence posts.
Stand the chain link fabric up and insert the tension bar into the tension band openings. Lock the tension bar in the right place by bolting them. Align the mesh to make it overlap the rail by about 1–2 inches. Pull the fabric using a stretcher bar and cable puller winch.
Finally, tighten the mesh using tension bands attached to the end post – the one located nearest the fence puller. It will be best to take the help of one or two helpers for a tightened look. And clip off any excess mesh between the end post and the tension bars.
Install the Fence Hardware
Tension bands help secure the tension bar and strengthen the fabric. Slide your tension bands into every end, corner, and gate post. Place latch hardware and fence gate hinges into the gate posts in their final positions (approximately). Attach a brace band over every gate and end post, and two bands over every corner post. Drive the end post caps into the end, corner, and gate posts using a rubber mallet.
Tension the Fence
It’s time to add tension to your fence system. Start by pulling the tension bar into your tension bands by attaching them to the end post by hand. Secure the bolts on the tension bands using a socket wrench. Next, loosen the fence puller and remove the stretcher and tension bars. Now, repeat the entire stretching and hanging process along the other sides of the chain link fence.
Finish the Fence
The final step would include wiring the bottom loops of the fence mesh or fabric. Wrap around a tension wire by threading it through the bottom loops and tighten it around your end posts. Make sure to thread the wire tightly by wrapping it around itself multiple times for added strength. Alternatively, you can attach the wire to the mesh every two feet (or as recommended in your manufacturer’s instructions) with hog rings.
Now, you are good to go with your new fencing system that defines your property and keeps kids and pets in.
Final Words
To conclude, installing a chain link fence is a complex process. Therefore, you must follow all the crucial steps, manufacturer instructions, and safety guidelines appropriately. Being careful during the installation process will make your fencing system last longer. Whenever you feel doubtful or unsure about any part of the installation process, consult a professional fence contractor for expert guidance and support.